Online Photo Editor Guide: Edit Images Free in Your Browser (2026)
A practical, in-depth guide to editing photos online without installing anything. Learn adjustments, filters, cropping for every social platform, and export best practices.
Online Photo Editing in 2026: Why It Matters
You know that feeling when you just need to crop a photo or bump up the brightness, but the thought of opening a heavyweight app makes you sigh? You are not alone. In 2026, browser-based photo editors have become genuinely capable -- and our Photo Editor is a perfect example.
Here is why editing directly in your browser is worth considering:
- Zero installation: No downloads, no disk space consumed, no update prompts.
- No account required: You do not hand over an email address or create yet another password.
- Privacy first: Your images are processed entirely inside your browser using the HTML5 Canvas API. Nothing is uploaded to any server -- ever.
- Cross-device: Works on Windows, Mac, Linux, Chromebook, and even tablets.
Does this replace Photoshop or Affinity Photo for complex compositing work? No. But for the everyday tasks that make up 90% of photo editing -- adjusting exposure, applying a filter, cropping for social media -- it does the job in seconds.
Getting Started: Upload Your Image
Getting an image into the editor takes about two seconds:
- Click the "Upload Image" button or simply drag and drop a file onto the canvas area.
- The image loads instantly -- no progress bar, no waiting.
Supported Formats and Limits
- Formats: JPG, PNG, GIF, and WebP.
- Max size: Limited only by your browser memory. In practice, images up to ~50 MP (e.g., 8000 x 6000 px) work smoothly on modern devices.
- Transparency: PNG and WebP with alpha channels are fully supported.
Essential Adjustments: What Each Slider Does
The adjustment panel gives you six sliders. Here is what each one actually does and when to use it:
Brightness
Controls the overall lightness of the image. Increasing brightness makes every pixel lighter; decreasing it makes them darker.
Practical example: You took a photo indoors and the subject looks too dark. Slide brightness to about +20% to +30% -- that is usually enough without washing out the colors.
Contrast
Widens or narrows the gap between the darkest and lightest tones. Higher contrast makes shadows deeper and highlights brighter, giving the image more "punch."
Practical example: A foggy landscape looks flat and grey. Bump contrast up by +15% to +25% to bring out the depth between the mountains and the sky.
Saturation
Controls color intensity. At 0% the image is completely desaturated (greyscale). At 200% the colors are extremely vivid.
Practical example: A sunset photo looks muted on your screen. A gentle +15% saturation boost makes the oranges and reds pop without looking unnatural.
Hue Rotation
Shifts all colors around the color wheel by a set number of degrees. This is a creative tool rather than a corrective one.
Practical example: Turn a blue sky purple, or create surreal color-swap effects for artistic projects.
Blur
Applies a Gaussian blur to soften the image. Useful for creating a dreamy background effect or hiding sensitive information in a screenshot.
Sharpness
Enhances edge detail to make the image appear crisper. A small amount of sharpening (+10% to +20%) can rescue a slightly soft photo.
Filters and Effects: Choosing the Right Look
Filters apply a preset combination of color grading and tone adjustments in one click. Our editor includes six built-in filters:
- Vintage: Warm tones, slightly faded contrast. Perfect for food photography, cozy interiors, and nostalgic content.
- Sepia: A classic brownish monochrome that evokes old photographs. Great for portrait shots and travel throwbacks.
- B&W (Black and White): Removes all color information. Use it for dramatic portraits, architecture, and street photography.
- Vivid: Boosts saturation and contrast simultaneously. Ideal for nature shots -- forests, flowers, oceans.
- Cool: Adds a blue-tinted color cast. Works well for winter scenes, tech products, and minimalist aesthetics.
- Warm: Adds a golden-orange cast. Perfect for sunset shots, autumn scenery, and anything that should feel "inviting."
+10% for that aesthetic.
Cropping for Social Media: The Complete Dimension Guide
Every social media platform displays images differently. Uploading a photo with the wrong aspect ratio means the platform will crop it for you -- and it rarely crops where you want. Here is the definitive reference table:
| Platform | Type | Aspect Ratio | Dimensions (px) |
|---|---|---|---|
| Feed Post | 1:1 | 1080 x 1080 | |
| Story / Reels | 9:16 | 1080 x 1920 | |
| Landscape | 1.91:1 | 1080 x 566 | |
| YouTube | Thumbnail | 16:9 | 1280 x 720 |
| X (Twitter) | Header | 3:1 | 1500 x 500 |
| X (Twitter) | In-stream | 16:9 | 1600 x 900 |
| Cover | 2.7:1 | 820 x 312 | |
| Shared Image | 1.91:1 | 1200 x 630 | |
| Post Image | 1.91:1 | 1200 x 627 | |
| Pin | 2:3 | 1000 x 1500 |
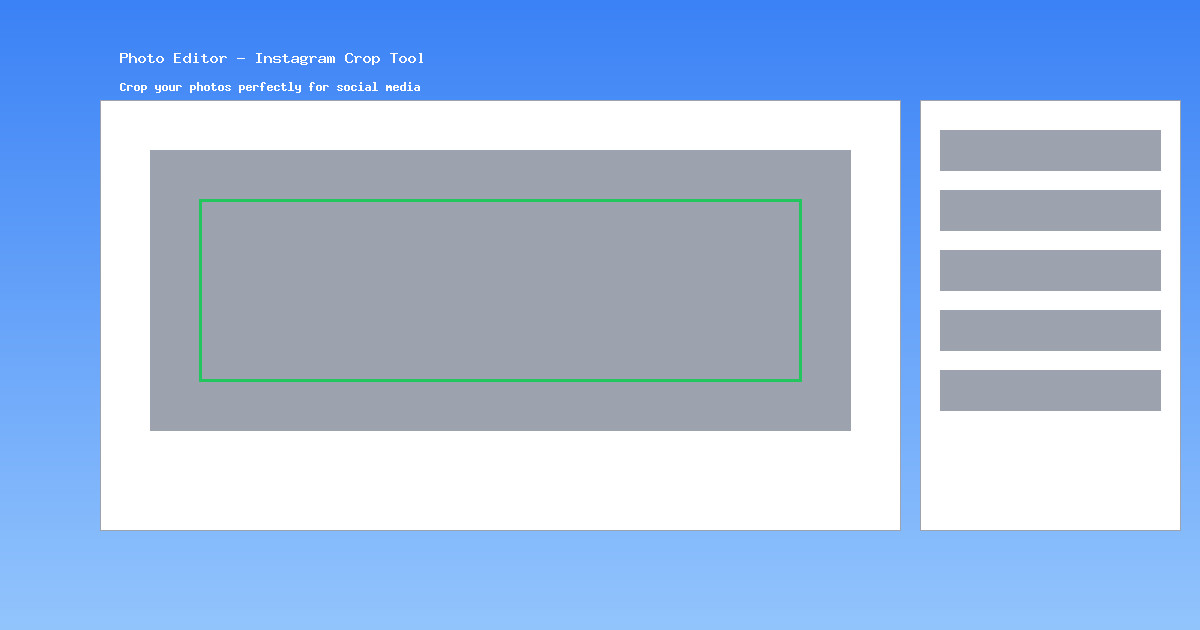
How to Crop in the Editor
- Click the Crop button in the toolbar.
- Select a preset ratio (1:1, 16:9, 9:16, 4:3) or enter a custom size.
- Drag the crop handles to frame your subject.
- Click Apply to confirm.
Here is a real example -- the same photo before and after cropping for an Instagram feed post (1:1):
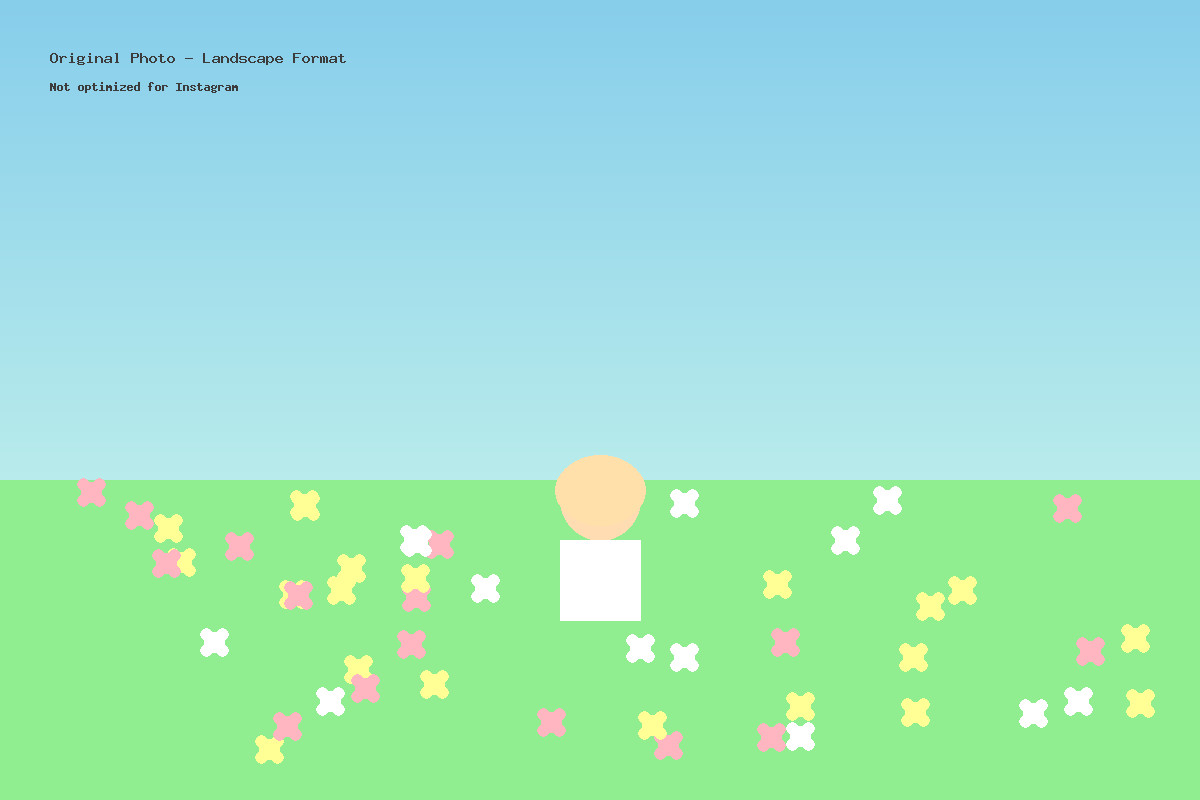
Before: Original landscape photo
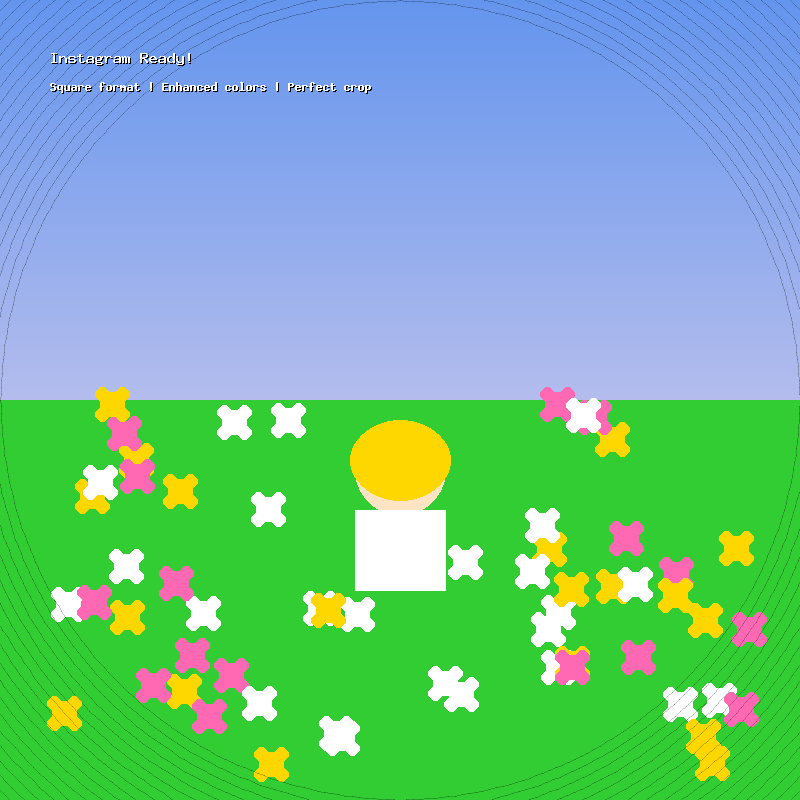
After: Cropped to 1:1 for Instagram feed
Pro Tips and Export Best Practices
Undo / Redo
Every action is tracked. Click the Undo button (or press Ctrl+Z) to step back. You can undo multiple times to return to any previous state.
Quality Settings and File Size
When you export (download) your edited photo, you can choose the output quality:
- 100% quality: Maximum detail, largest file size. Use for prints or archival.
- 80-90% quality: Virtually indistinguishable from 100% to the human eye, but 40-60% smaller file size. Best for web and social media.
- 60-70% quality: Noticeable compression on close inspection. Fine for thumbnails and email attachments where speed matters.
Batch Workflow Suggestion
Need to edit multiple photos with the same adjustments? Here is a fast workflow:
- Edit your first photo and note down the exact slider values (e.g., Brightness +15%, Contrast +10%, Warm filter).
- Open each subsequent photo and apply the same values. This ensures a consistent look across a set of images.
- Export all images at the same quality setting.
Format Selection
- JPG: Best for photographs. Smaller file sizes, no transparency support.
- PNG: Best when you need transparency or pixel-perfect screenshots. Larger files.
- WebP: Modern format with excellent compression. Ideal for web use if your audience uses up-to-date browsers.
Ready to Edit Your Photos?
Open the free Photo Editor and start editing right in your browser -- no signup required.