How to Compare Images Online - 4 Methods for Pixel-Perfect Analysis
Learn how to compare images online using 4 powerful comparison modes: Slider, Side-by-Side, Overlay, and Pixel Difference. A complete guide for developers, designers, and photographers.
Why Image Comparison Matters
Whether you are a web developer checking responsive layouts, a designer reviewing revisions, a photographer fine-tuning edits, or a QA tester verifying visual regressions, image comparison is an essential part of your workflow. Manually spotting differences between two similar images is tedious and error-prone. That is where a dedicated image comparison tool becomes invaluable.
Our free online Image Compare tool offers four distinct comparison modes, each designed for a specific use case. Everything runs in your browser -- no uploads to any server, your images stay private.
The 4 Comparison Modes Explained
1. Slider Mode (Before/After)
The slider mode places both images on top of each other with a draggable divider. Slide left or right to reveal either image. This is the most intuitive way to compare visual changes.
How to use it:
- Upload your original image (Image A) and the modified image (Image B)
- Select "Slider" from the comparison mode options
- Click and drag the slider handle left or right to reveal each image
- Look for changes in color, layout, or details as you slide
Best for: Before/after photo edits, website redesigns, CSS changes, retouching comparison.
2. Side-by-Side Mode
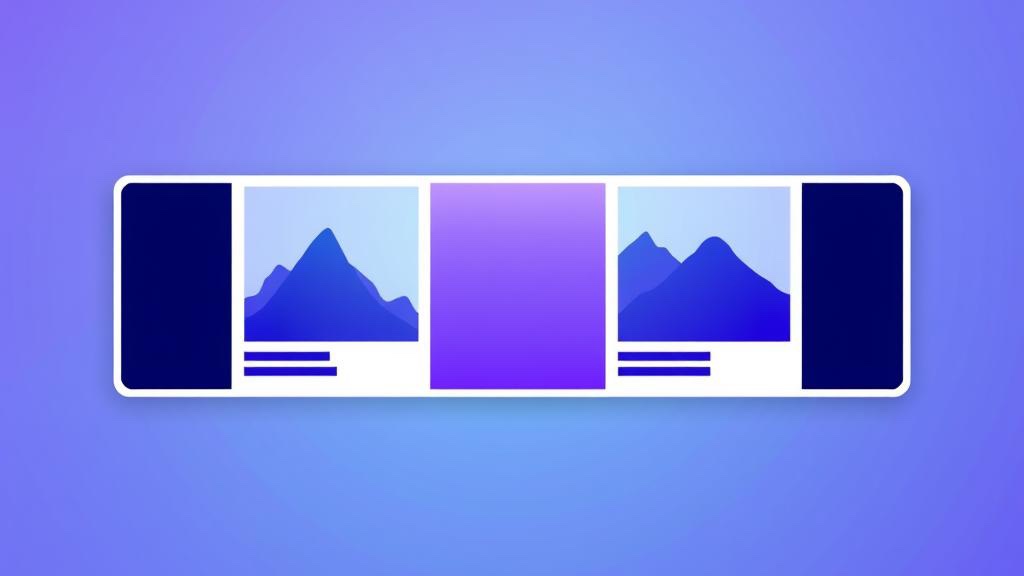
This mode displays both images next to each other in equal-width panels. It provides a clear, simultaneous view of both versions without any overlap.
How to use it:
- Upload both images and select "Side by Side" mode
- Both images are shown at the same scale for fair comparison
- Scroll or zoom to inspect specific areas in both images at once
- Great for presentations and documentation where you need to show both versions
Best for: Design reviews, client presentations, documentation, comparing different filter effects.
3. Overlay Mode
Overlay mode stacks one image on top of the other and lets you adjust the opacity. By fading between 0% and 100% opacity, you can see exactly what changed between the two images.
How to use it:
- Upload both images and select "Overlay" mode
- Use the opacity slider to blend between Image A and Image B
- At 0% you see only Image A, at 100% you see only Image B
- Slowly adjust the slider to spot subtle differences like alignment shifts or color changes
Best for: Alignment checks, subtle color grading differences, logo placement verification, animation frame comparison.
4. Pixel Difference Mode
This is the most technical mode. It computes the absolute difference between corresponding pixels in both images and displays the result. Identical areas appear black, while differences are highlighted in bright colors.
How to use it:
- Upload both images and select "Difference" mode
- The tool generates a difference map automatically
- Black areas = pixels are identical in both images
- Colored/bright areas = pixels differ between the two images
- Any change, no matter how small, becomes immediately visible
Best for: QA regression testing, compression artifact detection, finding hidden changes, verifying lossless operations.
Real-World Use Cases
Web Developers
- Compare screenshots before and after CSS changes
- Verify responsive layout adjustments across breakpoints
- Detect visual regressions in CI/CD pipelines
Designers
- Review design iterations with clients
- Verify pixel-perfect implementation by developers
- Compare color variations and typography changes
Photographers
- Compare RAW vs edited versions
- Evaluate different post-processing presets
- Check export quality after compression
QA Testers
- Automated visual regression testing
- Verify bug fixes on visual elements
- Compare screenshots across browsers and devices
Tips for Effective Image Comparison
Pro Tips
- Use the same dimensions: For the most accurate comparison, both images should have the same width and height.
- Choose the right mode: Use Slider for quick visual checks, Side-by-Side for presentations, Overlay for alignment, and Pixel Difference for technical analysis.
- Check compression quality: Save the same image at different quality levels and use Pixel Difference to see what data is lost.
- Test across formats: Compare PNG vs WebP vs JPEG to find the optimal format for your needs.
- Privacy first: Our tool processes everything in your browser. No images are uploaded to any server.
Step-by-Step Quick Start
- Open the Image Compare tool
- Upload Image A (your original or baseline image)
- Upload Image B (the modified or new version)
- Select a comparison mode from the four available options
- Analyze the differences and make your decisions
Try the Image Compare Tool
Upload two images and compare them instantly using all 4 comparison modes.